Tags
Glow In The Dark, Instagram, Lacquer, Lacquers, Makeup, Makeup Artist, MUA, Nail, Nail Lacquer, Nail Polish, Nails, Polish, Sally Hansen, Sally Hansen X-Treme Wear, Seche Vite, Seche Vite Base Coat, Seche Vite Dry Fast, Seche Vite Top Coat, Shattered Glass Nail Tutorial, Shattered Glass Nails, Sinful Colors
Hi dolls! Seriously, this week has gone by a bit too quick! Not only that, but November is here! These past couple of weeks sure have flown by! A few posts ago, I told you guys about the new nail trend of Shattered Glass nails, and I now have a tutorial for you!
This was actually a fairly easy to do nail project! If you remember, the end goal is to have your nails look like this:
 So, without further ado, here’s how to do your own very own Shattered Glass nails.
You will need the following:
Cellophane
 You can purchase a roll like this at craft stores like Hobby Lobby or Michael’s for like $3.99. I cut a rectangle piece large enough to when I fold it in half it gave me approximately 2 4×4 inch squares.
Nail Polish
 You can see the cellophane squares here. I chose a black nail polish and a glow in the dark top polish.
Scissors. Self explanatory 😉 Orange Stick/Applicator
Instructions:
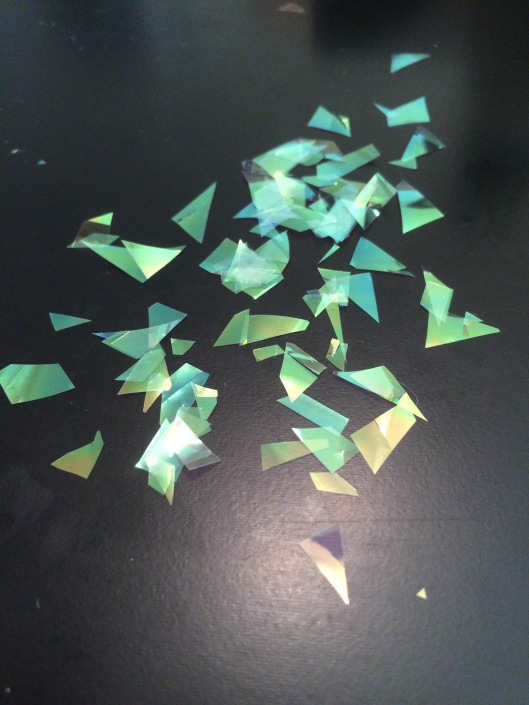
Cut the cellophane in random ways, in small pieces, to simulate broken glass like so
 Paint your nails
 While the nail polish is still tacky, take an applicator or orange stick, and pick up the cellophane and apply it to your nails like so
Apply your top coat of choice, in my case I used the glow in the dark polish and then the top coat.
 And that’s it!
  Side note: I tried to get a picture of my nails in the dark, you know, to show you guys how they glow, but it seems like I have to “charge” my nails under light first for a good while before they actually glow.
This took me like maybe 30 minutes to do, it was quite easy and not technical at all! If you guys decide to do this tutorial let me know by using the hashtag #HauteMakeup and I’ll post them up on my IG!
xoxo
Lola

Pingback: We Need To Discuss This Shattered Glass Eyeliner Trend - Girly Dreams
Pingback: We Need To Discuss This Shattered Glass Eyeliner Trend - Just Girly Things